| Oracle® Database 2 Day + PHP Developer's Guide 11g Release 1 (11.1) Part Number B28845-01 |
|
|
View PDF |
| Oracle® Database 2 Day + PHP Developer's Guide 11g Release 1 (11.1) Part Number B28845-01 |
|
|
View PDF |
This chapter explains how to install and test Oracle Database and PHP environment. It has the following topics:
To install your Oracle Database and PHP environment, you need:
You should install a copy of Oracle Database Server on your computer. The sample data used in this tutorial is installed by default. It is the HR component of the Sample Schemas.
Throughout this tutorial Oracle SQL Developer is the graphical user interface used to perform Database tasks. Oracle SQL Developer is a free graphical tool for database development.
See Also:
Oracle Database Sample Schemas guide for information about the HR sample schema.
Oracle SQL Developer web page
http://www.oracle.com/technology/products/database/sql_developer/
The PHP application connects to the database as the HR user. You may need to unlock the HR account as a user with DBA privileges. To unlock the HR user:
Open SQL Developer and open a connection to your Oracle database.
Login to your Oracle database as system.
Open SQL Workheet or SQL*Plus and run the following SQL statement:
alter user hr account unlock;
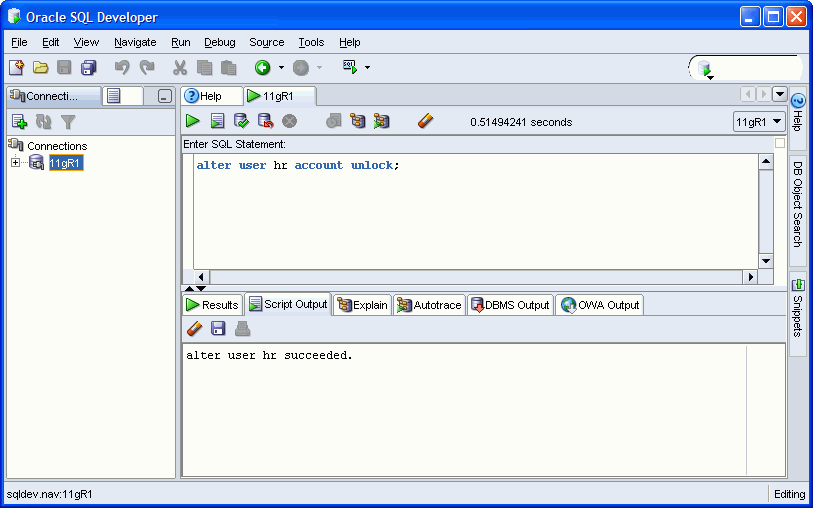
For further information about unlocking an Oracle Database account, see Chapter 6, "Managing Users and Security," in the Oracle Database 2 Day DBA guide.
See Also:
Oracle Database documentation
Zend Core for Oracle includes Apache HTTP Server. Follow the Zend Core installation instructions to install Apache.
To test the Apache HTTP Server installation:
Start your Web browser on the host on which you installed Apache.
Enter the following URL:
http://localhost/
Your Web browser will display a page similar to the following:
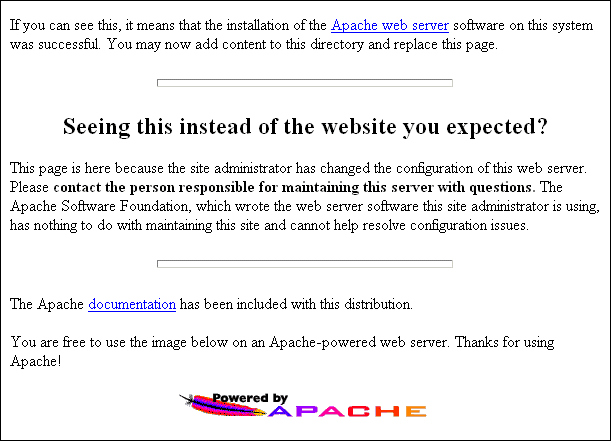
If this page does not appear check your Apache configuration. Common problems are that Apache is not running, or that it is listening on a non-default port.
To test the Apache HTTP Server installation:
Start your Web browser on the host on which you installed Apache, and enter the following URL:
http://localhost/
Your Web browser will display a page similar to the following:
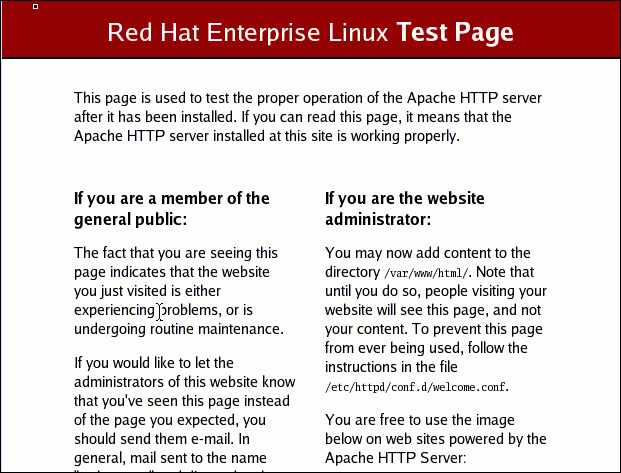
If this page does not appear, check your Apache configuration. Common problems are that Apache is not running, or that it is listening on a nondefault port.
In the default Apache HTTP Server configuration file, set up a public virtual directory as public_html for accessing your PHP files. Use your preferred editor to open the Apache configuration file /etc/httpd/conf/httpd.conf (the directory may be different in your installation of Linux), and remove the pound sign (#) at the start of the following line:
In this example, your Apache httpd.conf file contains the following lines:
<IfModule mod_userdir.c>
    #
    # UserDir is disabled by default since it can confirm the presence
    # of a username on the system (depending on home directory
    # permissions).
    #
    #UserDir disable

    #
    # To enable requests to /~user/ to serve the user's public_html
    # directory, remove the "UserDir disable" line above, and uncomment
    # the following line instead:
    #
    UserDir public_html
</IfModule>
This enables the Web browser to make an HTTP request using a registered user on the system and to serve files from the $HOME/public_html directory of the user. For example:
http://localhost/~user/
To use the new Apache configuration file, in a command window, restart Apache by entering the following commands:
su -
Password: <enter your su (root) password>
apachectl restart

If the Apache HTTP Server does not start, check the error log files to determine the cause. It may be a configuration error.
In the command window, log in (not root) and create a public_html subdirectory in the $HOME directory with the following command:
mkdir $HOME/public_html

Perform the following steps to obtain Zend Core for Oracle for Windows or Linux:
Enter the following URL in your Web browser:
http://www.oracle.com/technology/tech/php/zendcore/index.html
To the right of the Zend Core for Oracle Web page, click the Free Download button.

Save the downloaded file in a temporary directory, such as c:\tmp on Windows or \tmp on Linux.
This section describes how to install Zend Core for Oracle on Windows.
This tutorial is specific to PHP in Zend Core for Oracle.
For detailed setup information for Zend Core for Oracle, see the Installation Guide under Product Information on the Zend Core for Oracle Web page at
http://www.oracle.com/technology/tech/php/zendcore/index.html
This procedure assumes you downloaded the Zend Core for Oracle software to c:\tmp. If not, in Step 1 you must change to the directory that contains the downloaded software.
The file name and extraction directory are based on the current version. Throughout this procedure, ensure you use the directory name for the version you are installing.
You must be the administrator user to install Zend Core for Oracle. To install Zend Core for Oracle, perform the following steps:
In Windows Explorer, go to the directory where you downloaded the Zend Core for Oracle software.
To start the Zend Core for Oracle installation process, double-click the .exe file.
Review the README file and installation documentation distributed with Zend Core for Oracle.
Use the Tab or arrow keys, or use your mouse to move between input fields and buttons in the Zend installer. Press Enter, or click with the mouse to select a button.
In the initial Zend Core for Oracle Installation page, click Next.
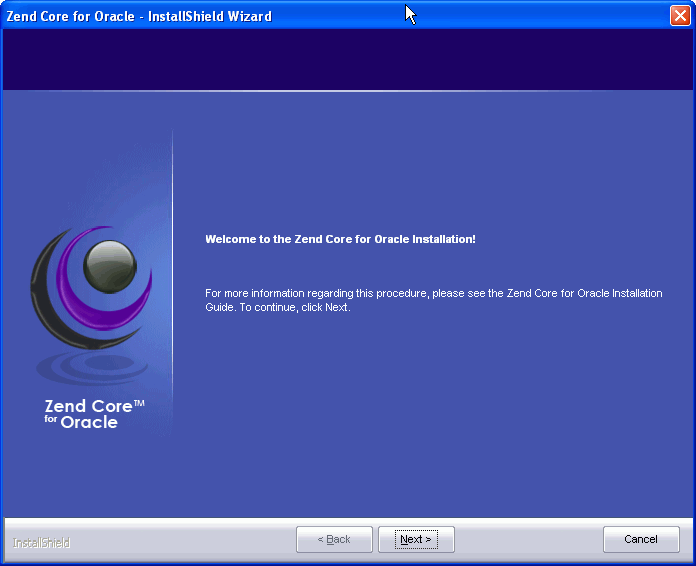
Copyright, 2006, Zend Technologies Ltd.
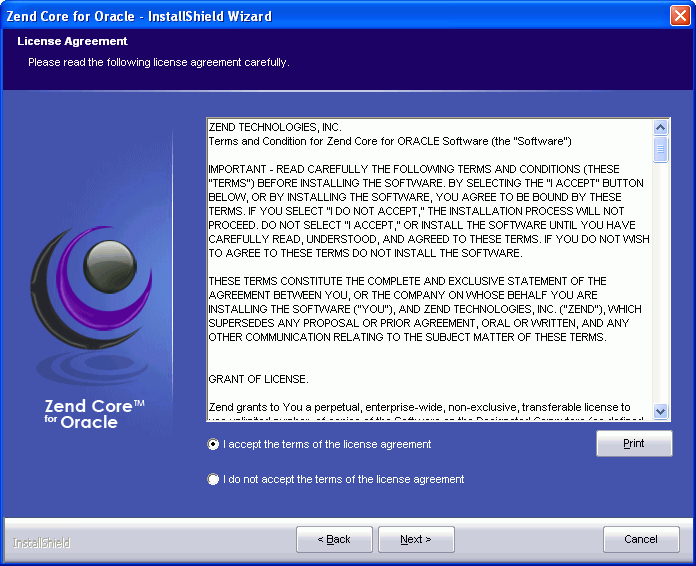
In the Zend Core for Oracle License Agreement page, read the license agreement. To continue with the installation, select I accept the terms of the license agreement, and click Next.
Copyright, 2006, Zend Technologies Ltd.
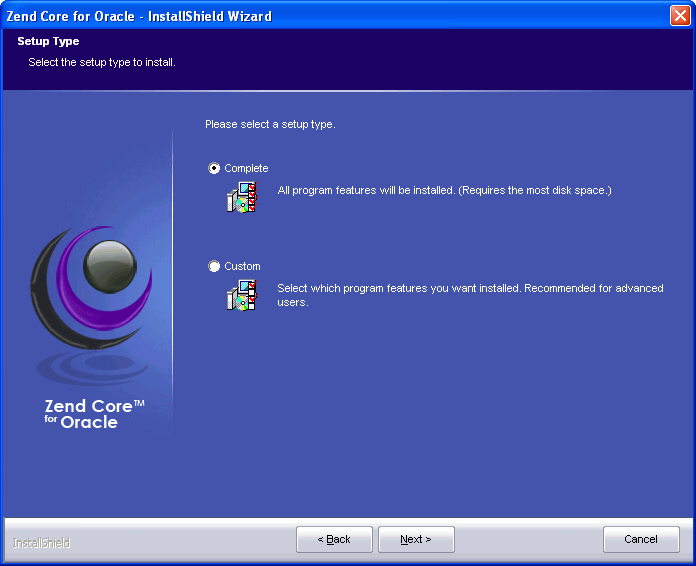
You are prompted to select the type of installation you want. Select Complete, and click Next.
Copyright, 2006, Zend Technologies Ltd.
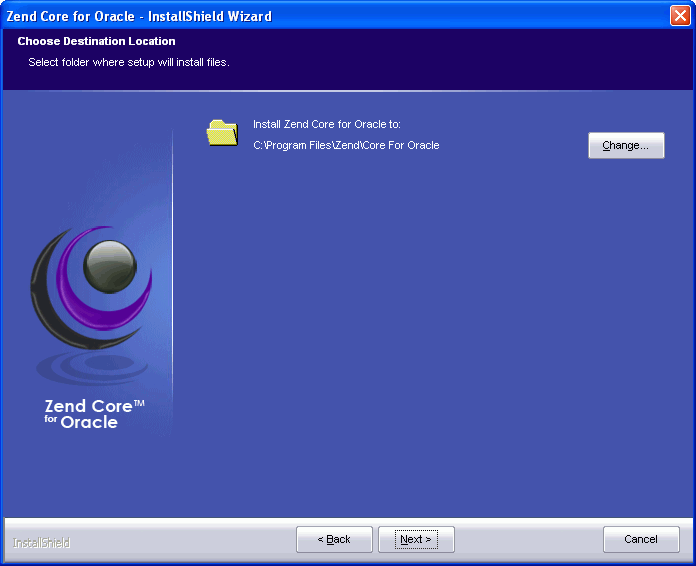
When you are prompted to specify the location for installing Zend Core for Oracle, accept the default (or enter your preferred location), and click Next.
Copyright, 2006, Zend Technologies Ltd.
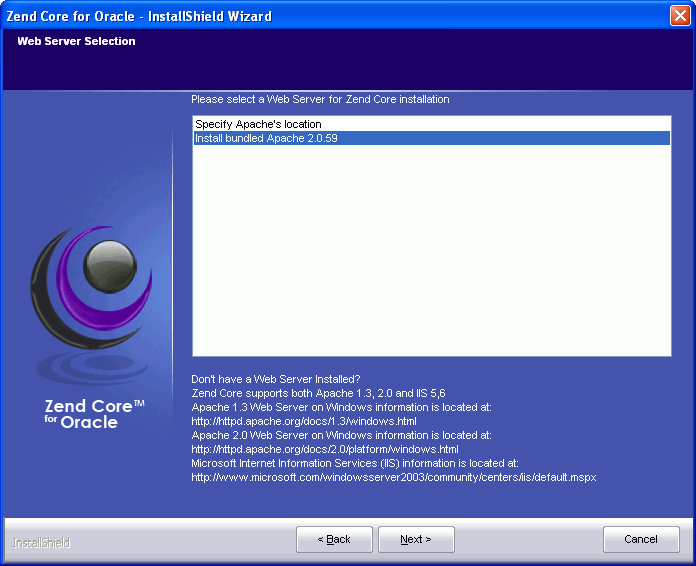
The next page prompts you to select the Web server for Zend Core installation. Accept the Install Bundled Apache option, and click Next.
Copyright, 2006, Zend Technologies Ltd.
You are then prompted to enter the port number Apache will use. Accept the default value 80, and click Next.
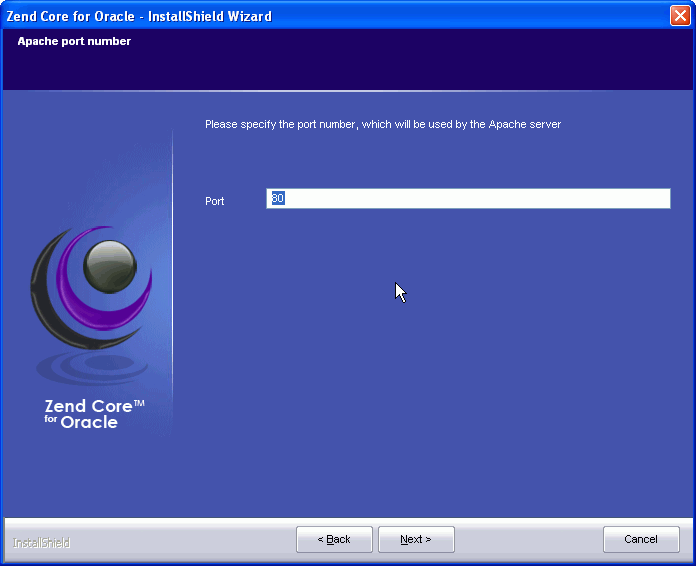
Copyright, 2006, Zend Technologies Ltd.
You are then prompted to select the Web Server API to use. Select Apache Module, and click Next.
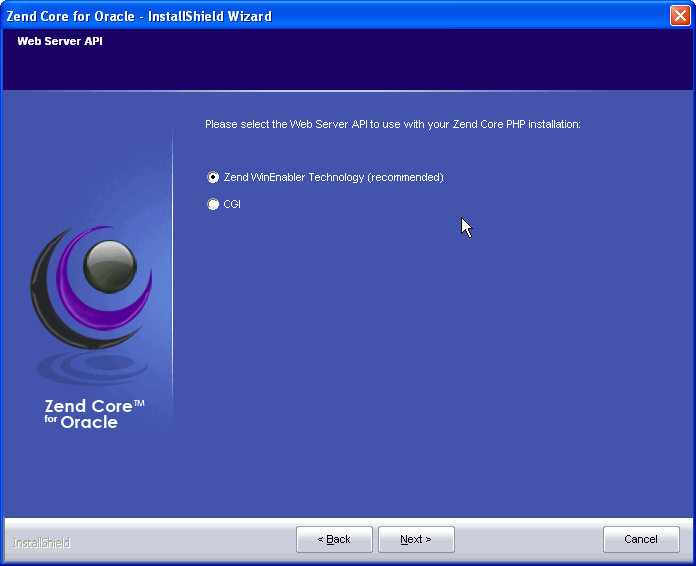
Copyright, 2006, Zend Technologies Ltd.
When you are prompted to select extensions to associate with your Zend Core for Oracle installation, select all four, and click Next.
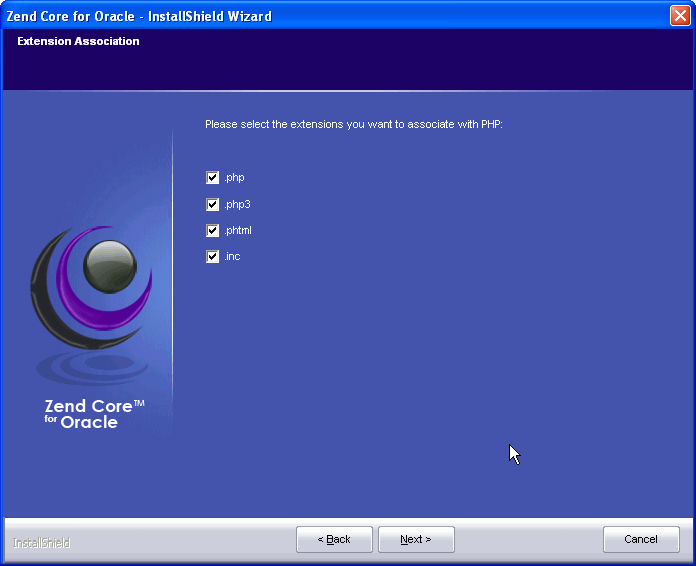
Copyright, 2006, Zend Technologies Ltd.
You are now prompted to enter a Zend Core GUI password. This password enables you to log in to the Zend Core Console to configure directives or property values.
Enter the password you want to use to access the Zend Core Console, and click Next.
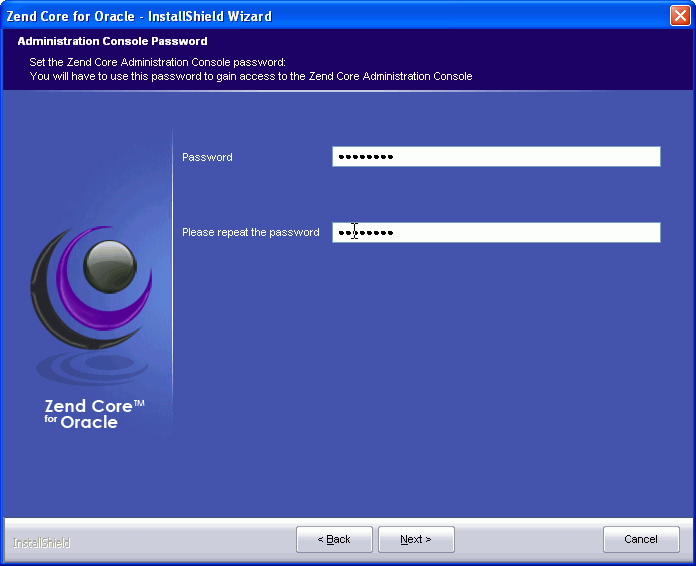
Copyright, 2006, Zend Technologies Ltd.
You can optionally enter your Zend network user ID and password to be able to use the Zend Core Console to track when updates to Zend Core and PHP components are available. If you have not registered, or do not want to track updates, select No, and click Next.
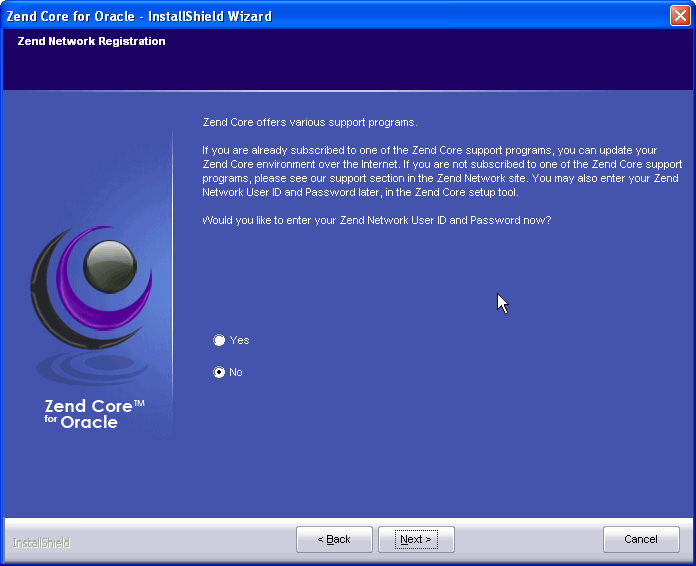
Copyright, 2006, Zend Technologies Ltd.
The installation wizard is now ready to begin installing Zend Core for Oracle on your computer. To start the installation wizard, click Install.
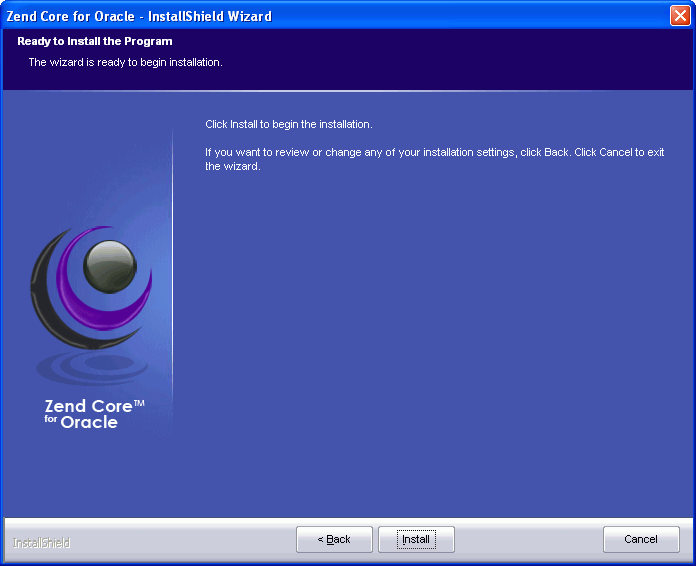
Copyright, 2006, Zend Technologies Ltd.
To complete the installation, you are prompted to restart your computer. Select Yes, I want to restart my computer now, and click Finish.
Copyright, 2006, Zend Technologies Ltd.
Installation is complete and Zend Core for Oracle is ready to be configured.
This section describes how to install Zend Core for Oracle on Linux.
This tutorial is specific to PHP in Zend Core for Oracle.
For detailed setup information for Zend Core for Oracle, see the Installation Guide under Product Information on the Zend Core for Oracle Web page at
http://www.oracle.com/technology/tech/php/zendcore/index.html
This procedure assumes you downloaded the Zend Core for Oracle software to /tmp. If not, in Step 1 you must change to the directory that contains the downloaded software.
The file name and extraction directory are based on the current version. Throughout this procedure, ensure you use the directory name for the version you are installing.
You must be the root user to install Zend Core for Oracle. Perform the following steps to install Zend Core for Oracle:
Enter the following commands in a command window to extract the contents of the downloaded Zend Core for Oracle software:
su -
Password: <enter the root password>
cd /tmp
tar -zxf ZendCoreForOracle-v1.2.1-Linux-x86.tar.gz
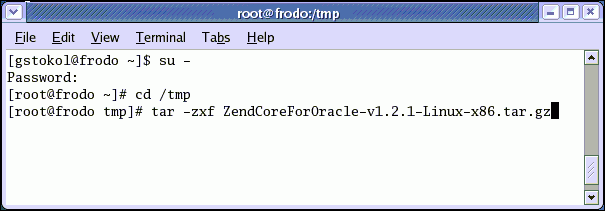
By default, files are extracted to a subdirectory called ZendCoreForOracle-v1.2.1-Linux-x86.
Review the README file and installation documentation distributed with Zend Core for Oracle.
To start the Zend Core for Oracle installation process, enter the following commands:
cd ZendCoreForOracle-v1.2.1-Linux-x86
./install
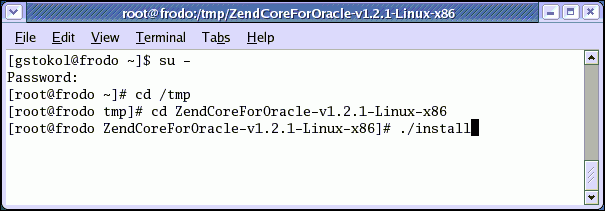
The install command must be executed with root user privileges. After you enter the ./install command, the installation process begins (documented in subsequent steps).
Use the Tab or arrow keys, or use your mouse to move between input fields and buttons in the Zend installer. Press Enter or click with the mouse to select a button.
In the initial Zend Core for Oracle Installation page, click OK.
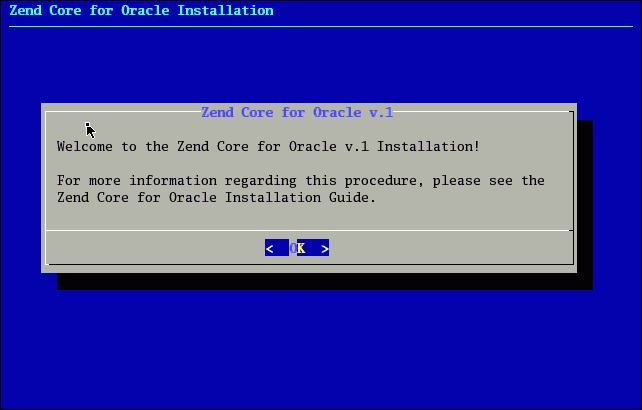
Copyright, 2006, Zend Technologies Ltd.
In the Zend Core for Oracle V.1 page, read the license agreement. To continue with the installation, click Exit.
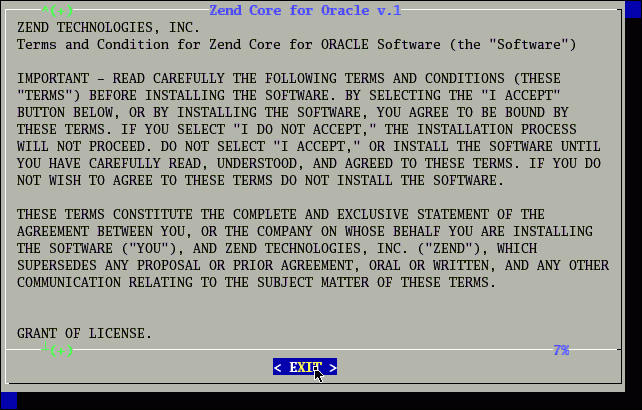
Copyright, 2006, Zend Technologies Ltd.
When you are prompted to accept the terms of the license, click Yes.
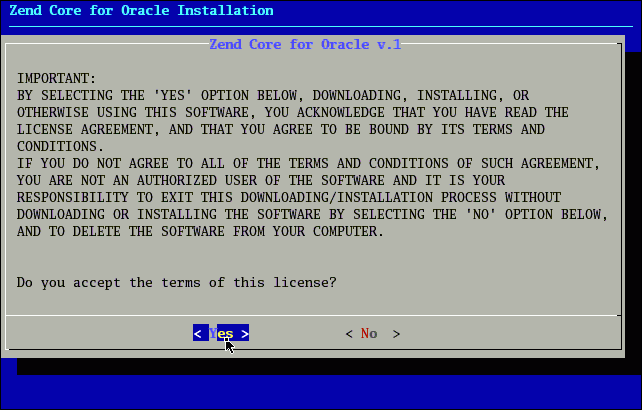
Copyright, 2006, Zend Technologies Ltd.
When you are prompted to specify the location for installing Zend Core for Oracle, accept the default (or enter your preferred location), and click OK.
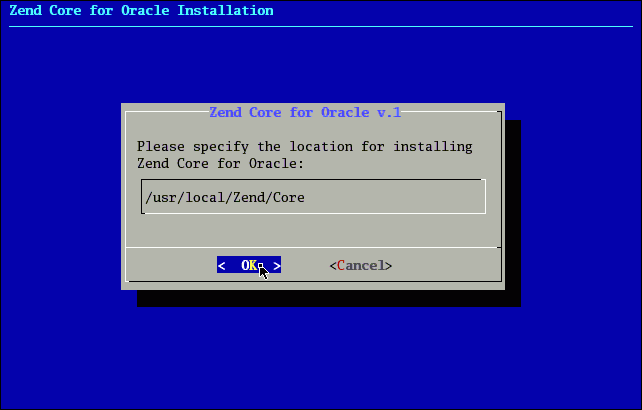
Copyright, 2006, Zend Technologies Ltd.
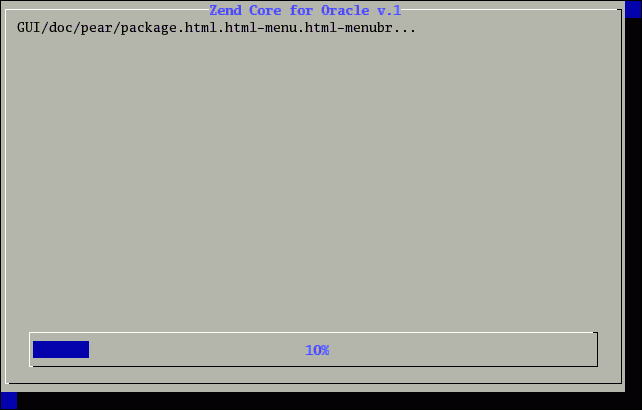
The installer begins extracting the files required for the installation. The following progress screen is visible during the installation process:
Copyright, 2006, Zend Technologies Ltd.
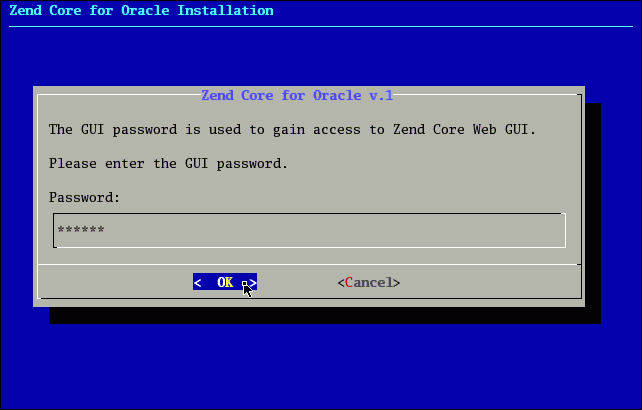
When the progress window indicates that all the software was installed, you are prompted to Please enter the GUI password. In the Password field, enter the password you want to use to access the Zend Core Console, and click OK.
Copyright, 2006, Zend Technologies Ltd.
The password you specify here lets you log in to the Zend Core for Oracle administration Web pages. These pages enable you to configure Zend Core for Oracle engine directives and property values.
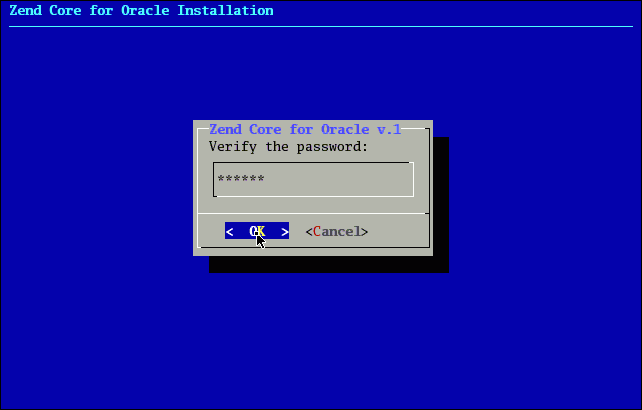
When you are prompted to Verify the password, enter the same password that you specified in Step 7, and click OK.
Copyright, 2006, Zend Technologies Ltd.
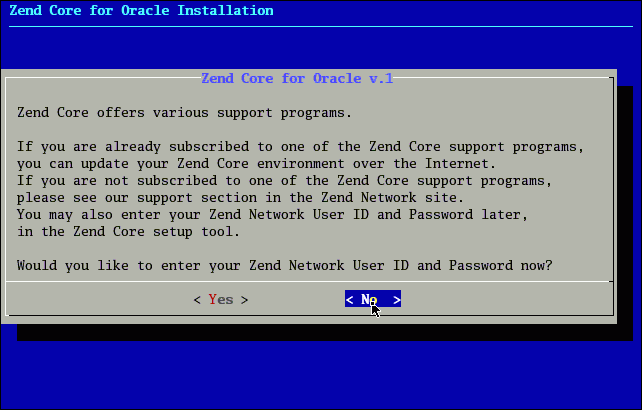
In the Zend Core support page, you can optionally enter your Zend network user ID and password to be able to use the Zend Core Console to track when updates to Zend Core and PHP components are available. If you have not registered, or do not want to track updates, click No.
Copyright, 2006, Zend Technologies Ltd.
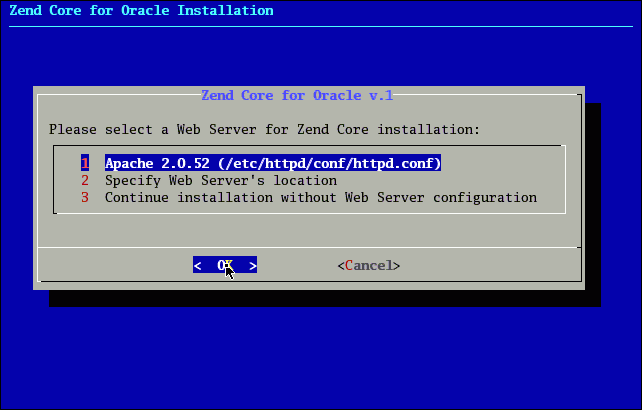
The next page prompts you to select the Web server for Zend Core installation. Select the default (Apache installed with Linux), and click OK.
Copyright, 2006, Zend Technologies Ltd.
If you choose, you can install Zend Core for Oracle with another supported Web server that is installed on your system.
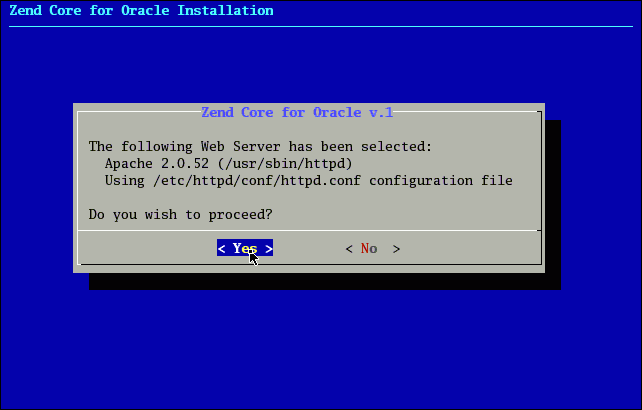
In the page confirming your Web server selection, you are prompted whether or not to proceed. Click Yes.
Copyright, 2006, Zend Technologies Ltd.
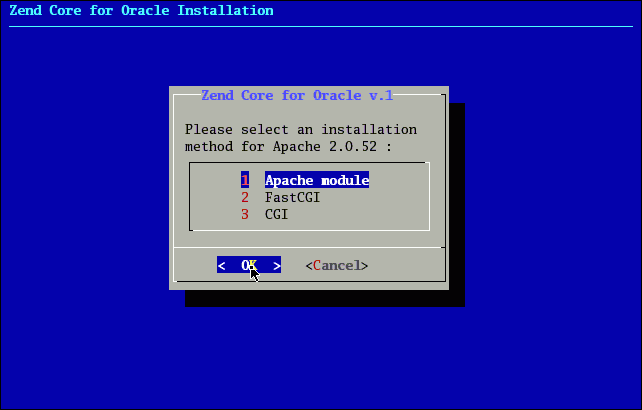
In the next installation page you are prompted to select an installation method for Apache 2.0.52. Select Apache module as the method, and click OK.
Copyright, 2006, Zend Technologies Ltd.
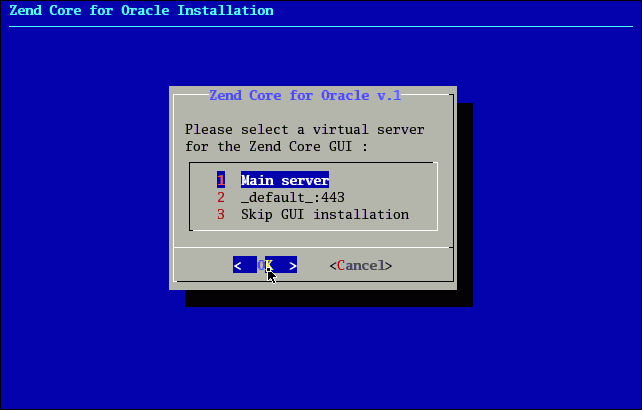
In the next installation page you are prompted to select a virtual server for the Zend Core GUI. Select Main Server, and click OK.
Copyright, 2006, Zend Technologies Ltd.
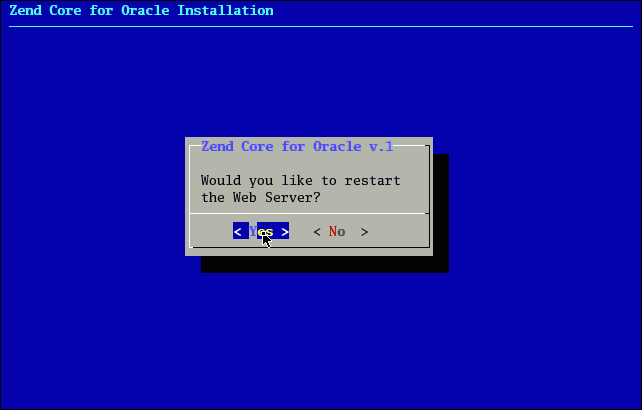
In the next installation page, you are prompted whether or not to restart the Web Server. Click Yes.
Copyright, 2006, Zend Technologies Ltd.
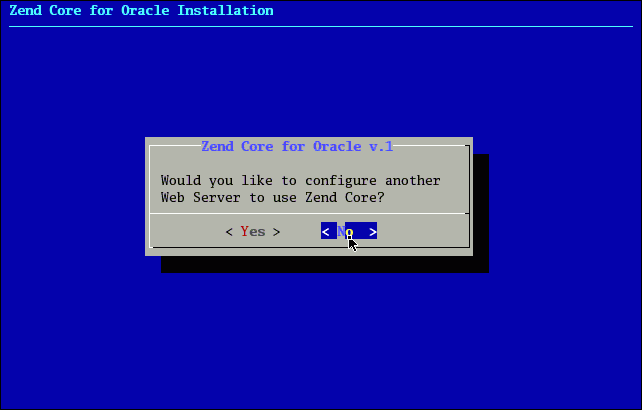
In the next installation page, you are asked whether or not to configure another Web Server to use Zend Core for Oracle. Click No.
Copyright, 2006, Zend Technologies Ltd.
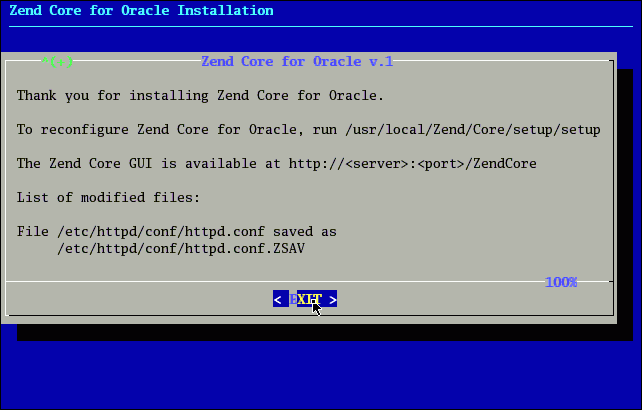
The final installation page lists useful configuration commands and a Web page for the administration of the Zend Core engine. Take note of the information, and click EXIT.
Copyright, 2006, Zend Technologies Ltd.
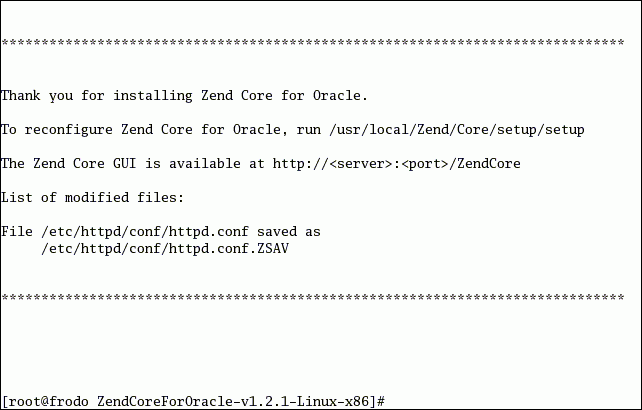
When the Zend Core installation ends, the text from the final installation screen is displayed in your terminal.
Copyright, 2006, Zend Technologies Ltd.
Installation is complete and Zend Core for Oracle is ready to be configured.
In this section, you configure environment variables and Zend Core directives that control default error reporting in Web pages.
Enter the following URL in a Web browser to access the Zend Core Administration page:
http://localhost/ZendCore/
The Zend Core for Oracle Welcome page is displayed.
Enter the GUI password that you provided during Zend Core for Oracle installation in the Password field. Click the login (>>>) icon.

Copyright, 2006, Zend Technologies Ltd.
The Control Center System Overview page is displayed.
To display the configuration options, click the Configuration tab.
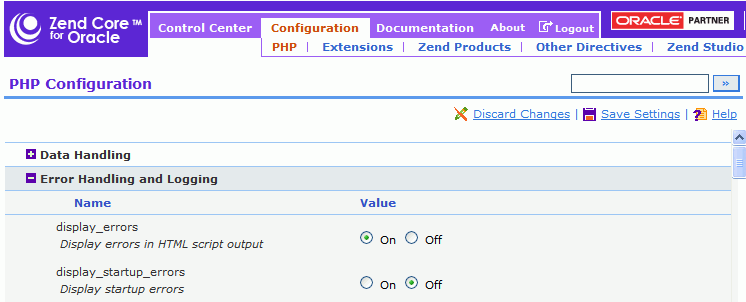
To expand the Error Handling and Logging configuration entry, click the (+) icon .
To enable the display of errors in the HTML script output during development, set the display_errors directive to On.
Copyright, 2006, Zend Technologies Ltd.
To save the configuration changes, click Save Settings.
Because you made configuration changes, you must restart the Apache HTTP Server. Under the page header notice the "Please Restart Apache" message reminding you to do so.
Click Logout to exit the Zend Core for Oracle Administration page.
Restart Apache. You can either use the ApacheMonitor utility, or you can use Windows Services.
To use the ApacheMonitor utility, navigate to the Apache bin directory and double click ApacheMonitor.exe. In a default installation, Apache bin is located at c:\Program Files\Zend\Apache2\bin.
You can access Windows Services from the Windows Start menu at Start > Control Panel > Administrative Tools > Services. Select the Standard tab. Right click the Apache2 HTTP Server and then select Restart.
Now that you have completed the basic configuration changes, proceed to the next section to test the Zend Core for Oracle installation.
To test the Zend Core for Oracle installation:
Create a subdirectory called chap2. To create a directory for your application files, and to change to the newly created directory, enter the following commands in a command window:
On Windows:
mkdir "c:\program files\Zend\Apache2\htdocs\chap2"
cd c:\program files\Zend\Apache2\htdocs\chap2
On Linux:
mkdir $HOME/public_html/chap2
cd $HOME/public_html/chap2

If you create files in a different location, you must change the steps for file editing and execution to match your working directory name and URL.
Create a file called hello.php that contains the following HTML text:
<?php
  echo "Hello, world!";
?>
Open a Web browser and enter the following URL in your browser:
On Windows:
http://localhost/chap2/hello.php
On Linux:
http://localhost/~<username>/chap2/hello.php
The line "Hello, world!" appears in the browser.
